Learn Kali Linux

The preferred operating system for both novice and expert hackers alike is Kali Linux. It was created by Offensive Security and includes many of the resources a hacker would require to get started. Recently, Kali Linux 2020.2—the official name of the latest version—was released by Offensive Security. I want to provide you with this update because they have made some substantial modifications from earlier versions.
Step-1: Download the VM Image – The virtual machine (VM) image can be downloaded and installed, which is probably the best approach to begin using Kali. Simply said, this is the operating system designed to function on Oracle’s VirtualBox or VMWare Workstation. The image is available for download here.

Be aware that there are images for both VirtualBox and VMware. Select and download the image that is best for your virtualisation setup.
Step-2: Open and install the VM Image -Open the image as the following step. There is no need to establish a new virtual machine because they have already been built for you. Simply choose the image from your download location by selecting “Open” from the File menu.


Then select the image and you should be ready to start Kali!

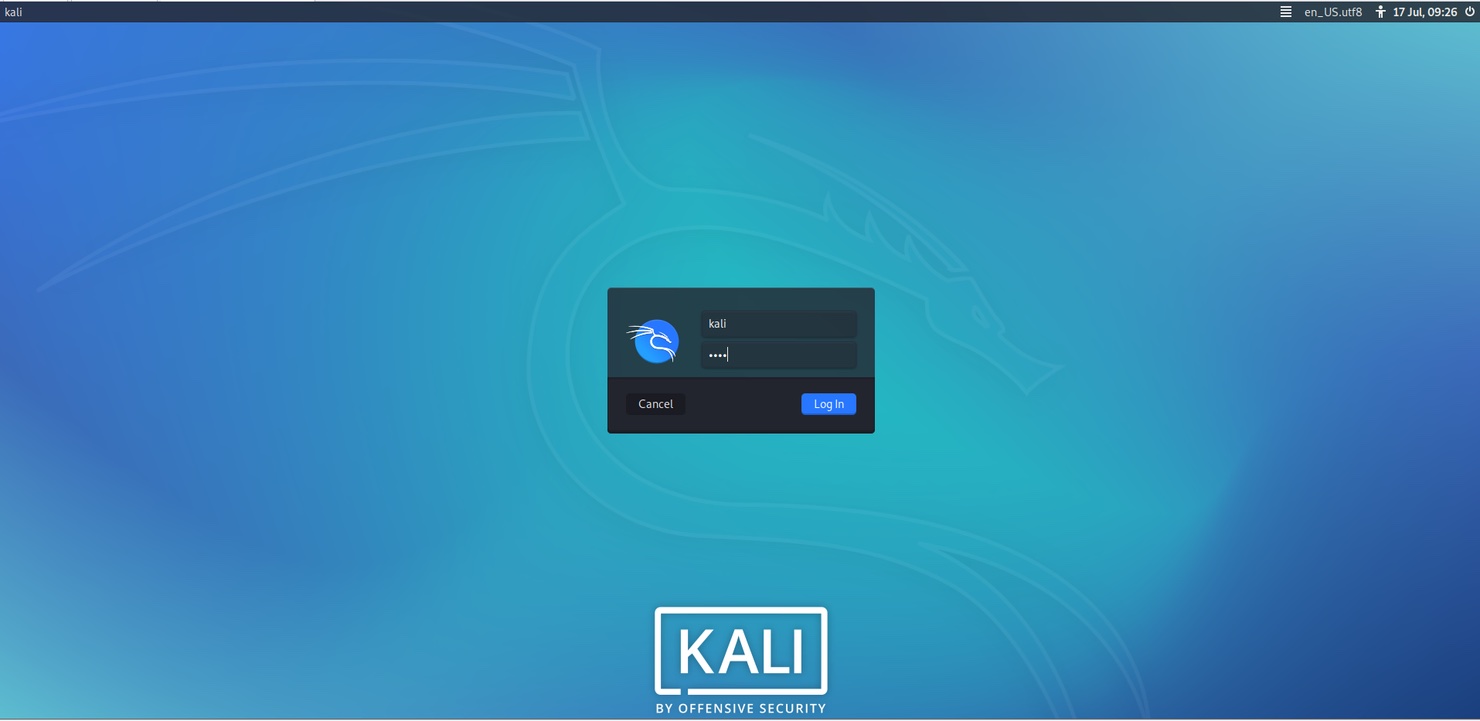
You ought to see a login page similar to the one below as soon as Kali launches. Kali and Kali are the default values for the username and password, respectively. Access your new hacking platform now!
Step-3: Let’s start with Kali Linux – Before we start our hacking journey, let’s take a time to make sure everyone is familiar with some fundamental Linux concepts. Let’s start with some of the most fundamental commands for Linux. Check out my book “Linux Basics for Hackers” from No Starch Press, which is currently available at Amazon, for a more thorough examination of Linux for hackers. Let’s talk about case-sensitivity first. Since Windows is case-insensitive, if you have spent your entire working life or career using it, you might not be used to case-sensitivity. Linux, on the other hand, pays attention to case. By extension, this means that the directory “Desktop” and the file “Hacking” are distinct from one another. In addition, the file structure in Linux is different than Windows. Whereas, Windows has physical drive, say C:, at the root of its file structure, Linux does not. At the top of the Linux file hierarchy is root /.

There are few important commands that are essential for just getting around in Linux because we will be working at the command line (CLI) practically often. Ls is most likely the most significant of these.
kali > ls

All of the files and subdirectories will be listed by the ls command, as seen above.
Linux will display considerably more details, including the owner, group, and security of the files and subdirectories, if we use the -l flag with the ls command.
kali > ls -l

cd
Change directory, or cd, is arguably the second most frequently used command in Linux.
autocomplete
Final names and commands in Linux are frequently very long and intricate. If you have enough characters to make a file or command unique, you can input the first few letters of it and tab to have Linux automatically complete it. This will solve the problem.
We employ the identical command as Windows cp in order to copy a file from one location to another.
cp
While the move mv command will move the file to the new location and delete the existing file and location, the copy command will make a copy of the file in the new location.
mv
We frequently lose track of the directory we are in when navigating the command line. The pwd command can be used to determine the location of our current working directory.
pwd
Since we have the ability to use any user account as the root user, it is best to avoid using the root account when performing routine maintenance. We won’t constantly be logged in as root as a result. You can type “whoami” into the system to find out who you are logged in as if you forget.
whoami
We can use the cat command and the file name to list the contents of a file. While is beneficial for short files, it scrolls to the file’s end before halting for longer files. Therefore, if a file has 1000 pages, it will scroll till it reaches page 1000. Not very helpful.
more
To view a file’s contents, use the more command. Unlike cats, it will only show the first page before stopping. The next step is to scroll through the file one line at a time using the Enter key or use the PGDN key to page down. To leave and return to the command prompt, type q.
ps
A filter command is grep. Grep can be used.
grep
An application or process may occasionally hang or go dead. We can use the kill command to terminate it.
kill
Cat can be used to print a file on the screen, as was before explained. It is helpful when printing small files but is only marginally useful when printing huge files. Cat can be used to create little text files for our needs in this class. Simply type the command cat followed by the redirect > and the desired file name, for example; to create a text file with cat.
kali > cat > hackingfile
The 21st century’s most crucial skill set is hacking.
Cat enters interactive mode when you press the enter key, and whatever you type after that will be saved in the file. Simply press Cntl+d to exit and save.
Kali navigation
It is crucial that we get an overview and tour of Kali because we will be using it as our main tool for attacking IT assets. Those of you who are new to Kali are urged to take the time necessary to get to know it and Linux because doing so will benefit you both in this course and in your future work as a penetration tester. Consider this a review for those of you who have extensive knowledge with Kali and Linux; please bear with us for a minute.
Developed by Offensive Security and for offensive security, Kali is a Debian Linux system with a GNOME interface by default (you can switch it if you prefer KDE or another interface; however, I will be using the default interface in this course). It is made for hacking and comes with hundreds of tools. The Kali Linux tab is located at the top of the screen and contains the majority of the tools we wish to access and use. Let’s look at those now.
A pull-down menu will appear when you click on the Kali tab in the top left corner.

It expands to a variety of hacking tool categories when we click on it. The tools that are available to us in each of those categories can be seen by clicking on any one of those categories.
As you can see in the screenshot below, when I selected the “Web Application Analysis” option, Kali’s tools for web application analysis and hacking, including BurpSuite, sqlmap, and wpscan, were presented.

The command line interface, or CLI, is typically used to run the tools. Unlike earlier versions of Backtrack and other hacking distributions, Offensive Security has centralised all of the applications in the /usr/bin directory. Since this directory is included in our PATH variable, we can run these applications from any directory, making Kali usage a little less complex than BackTrack or other security distributions. All of the apps that are available to us are displayed when we browse (cd) to /usr/bin and type ls -l.

Many commands are helpful for people who are new to Linux and Kali. The locate and find commands are likely the most crucial at first. With the help of Locate, we may look up a specific file’s name in an operating system database. As a result, we could type “apache2.conf” to find it.
locate apache2.conf using kali
The locate command is quick and simple, but it can only locate files that have been present for at least 24 hours because, on most systems, the database is updated overnight. Your recently created file won’t show up in the database until the following day.
kali > sudo find /etc -type f -name apache2.conf
Where:
/etc is the directory to search in
-type f tells it to search for a file
-name tells find to search by name
apache2.conf is the name of the file to search for

Following the execution of this command, it reports that apache2.conf is located in the /etc/apache2 directory. The find command in Linux is a very strong tool that offers nearly infinite choices and options to help us identify files based on different criteria, including ownership, time, size, permissions, and more. Although it would be worthwhile for you to spend more time investigating this command, it is outside the purview of our course.
Linux Services
With the release of Kali Linux 2020, the “new” systemd standard for system and service administration has been accepted by this Linux distribution. This represents a considerable departure from past Kali distributions, but it is also consistent with broader industry developments brought on by the widespread adoption of systemd.
There are other services, but they must be launched through the command line interface (CLI). Any service can be started or stopped by typing;
Kali > sudo systemctl “action:start,stop,restart>”
Consequently, I would type; to launch the Apache web server using the command line.
kali > sudo systemctl start apache2
Additionally, apache2 provides a command-line tool called apache2ctl. It can be used to launch and terminate the Apache web server.

Kali networking
Our network will need to be configured and changed throughout the course in order to facilitate hacking. We will need to be familiar with a few Linux commands in order to accomplish this. Ifconfig comes first and is most likely the most significant. Given that it will provide the necessary networking and interface information, it is extremely comparable to Windows ipconfig.
kali > sudo ifconfig

DHCP
Use the dhclient command and the name of the interface, in this case eth0, to obtain a DHCP issued IP address.
kali > sudo dhclient eth0
Setting up Static IP Configuration
You can use the ifconfig command as shown below to set a static IP;
kali > sudo ifconfig eth0 <IP address>

Thank you all and follow us for more more learning blogs.